This weekend just gone, we held our third Washoku Lovers Kitchen event! It was a great success, selling out really quickly – thanks to this we’re already working on our next event so everyone can start enjoying washoku at home.
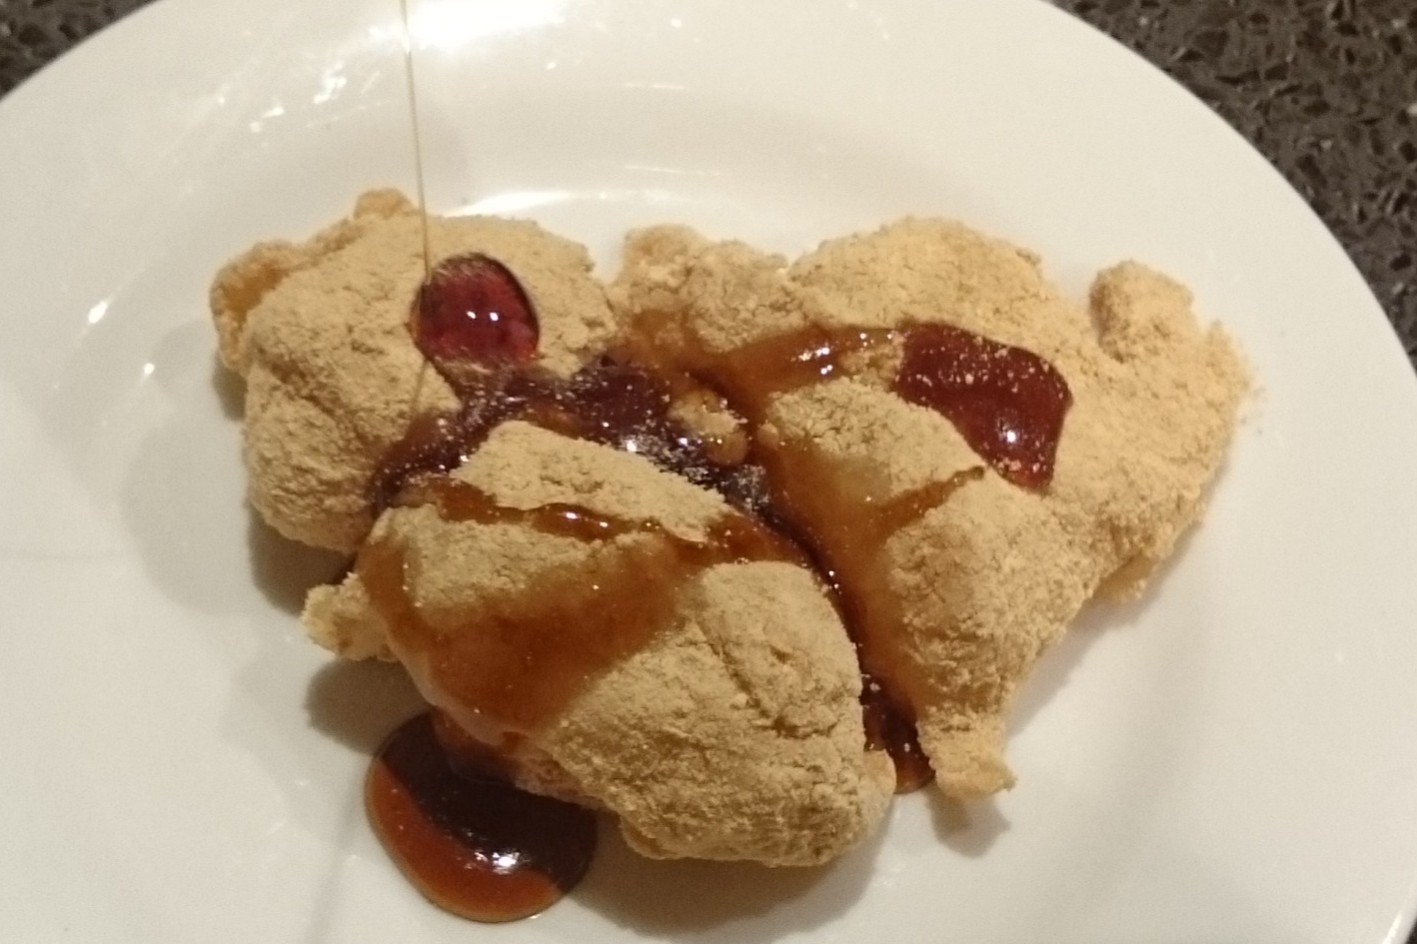
Instead of just assisting this time around, I also got to help cook and demonstrate how to make warabimochi. Warabimochi is different to regular mochi because it is not made from glutinous rice, but instead from bracken starch (warabiko). Bracken starch is made from fern-like plants (warabi), and is a fine powder with the consistency of flour. Warabi is actually quite expensive, so warabimochi is occasionally also made from a mix of tapioca and potato starch, referred to as warabimochiko.
Photo: warabimochi set from Tokyo Mart
You can buy warabimochi set packs from Tokyo Mart at Northbridge Place which come with everything you need to make warabimochi at home – how convenient! The pack includes one sachet of warabimochiko, one sachet of kinako (roasted soybean powder) and one sachet of kuromitsu (sugar syrup – delicious…)
The Kansai Region, where warabimochi is most common, serves the dish cold with kinako while other regions, especially the east and north of Japan, serve it hot with sugar syrup. Kinako has a nutty taste and is used in many traditional Japanese sweets. the kuromitsu can be served hot or cold as an additional topping that makes it extra sweet.
The instructions on the pack are written in Japanese, so we have translated it so that you can pick some up and make it at home.
Equipment you will need:
A medium mixing bowl
A saucepan
A large spoon
A rice paddle
400mL water
*Do not add extra water, because with too much water the recipe won’t work at all!*
Photo: the three stages of cooking the warabimochi
5. Once the warabimochi has set (this is pretty fast, almost immediately), take it out of the ice water and drain on paper towel. Dust with the kinako and when you’re ready to eat it, serve with kuromitsu.
Photo: dust with kinako powder
One packet makes 3~4 serves, depending on how much you love warabimochi. My pieces were quite large and after eating 3 I felt like I had had enough, so it could also serve more than 4.
There is an alternative method of letting the warabimochi set, which is to place a sheet of baking paper over a baking tray, spread the hot warabimochi “dough” over it so it’s nice and flat and then once it has cooled down completely (this takes longer), to cut it into nice and neat rectangles. It gives it a much more refined and restaurant look and feel.
Instead of kinako you can also use any flavours you want! Matcha is a very popular choice for this kind of dessert, especially since it’s already a powder.
Photo: my hard work in the form of warabimochi
Cleaning tip: Let the pot you used to cook the warabimochi soak in cold water, and when it’s been there for a while, use your hands to peel off the remaining mixture. It’s quite hard otherwise, but once this trick was shown to me I realised how much time I wasted cleaning up at home!